

Photo editing · Practical guide
How to Change Clothes in a Photo with AI
A convincing outfit edit starts before you press Generate. Use a clear source photo, describe both the garment and the details that should stay unchanged, then inspect the result instead of judging it at a glance.
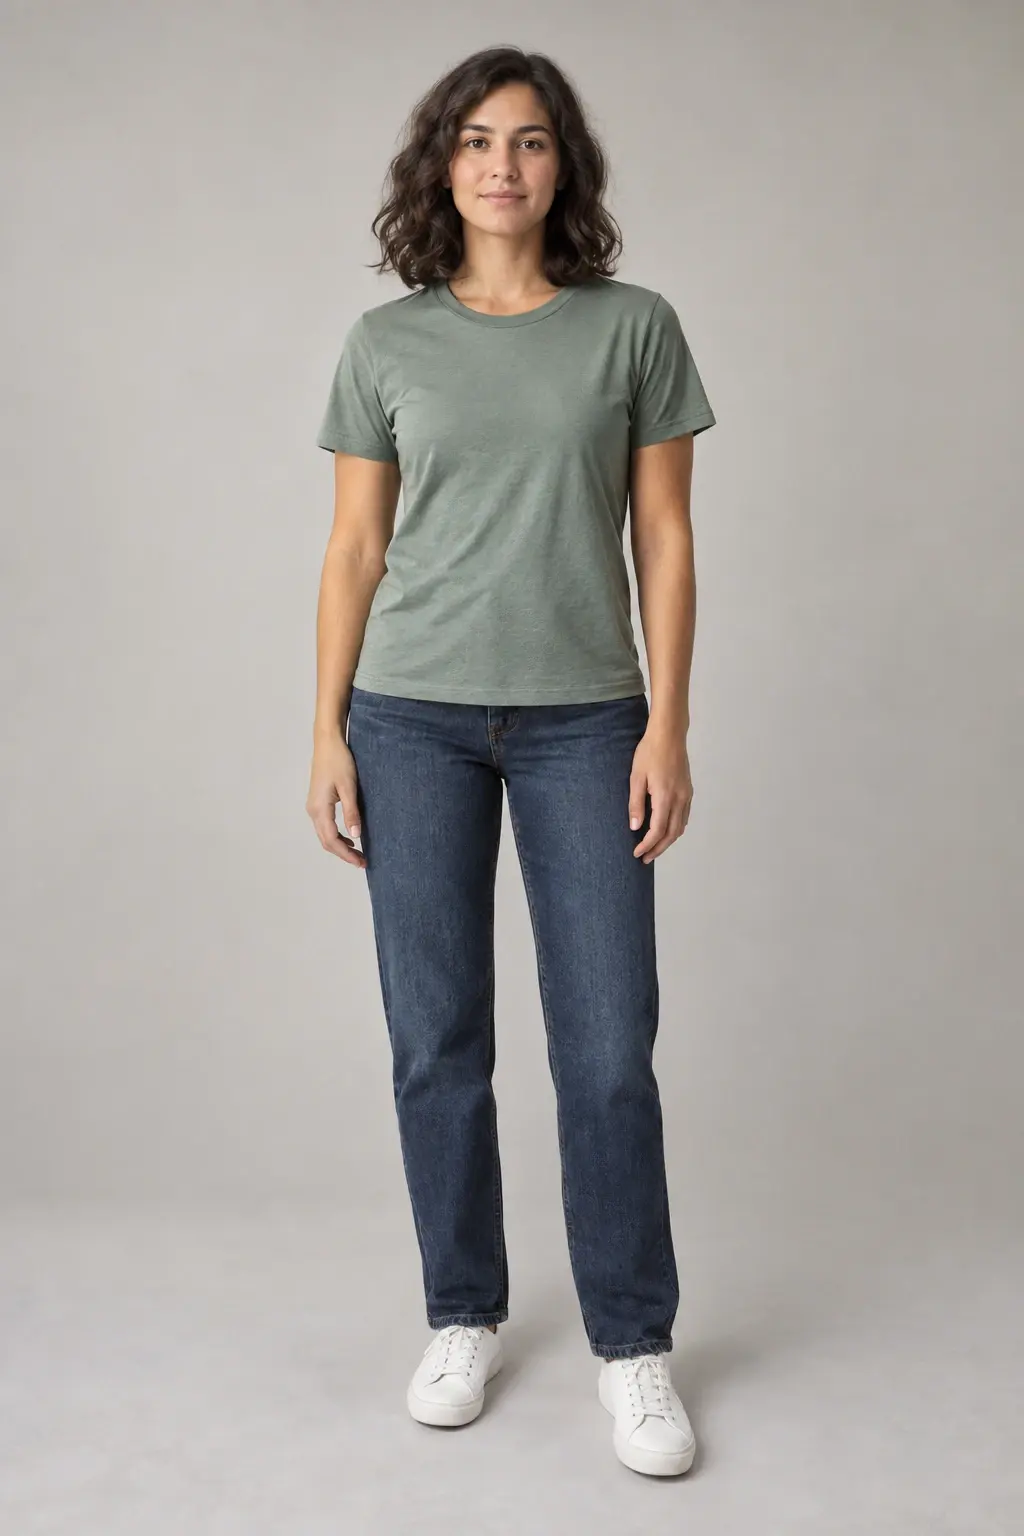
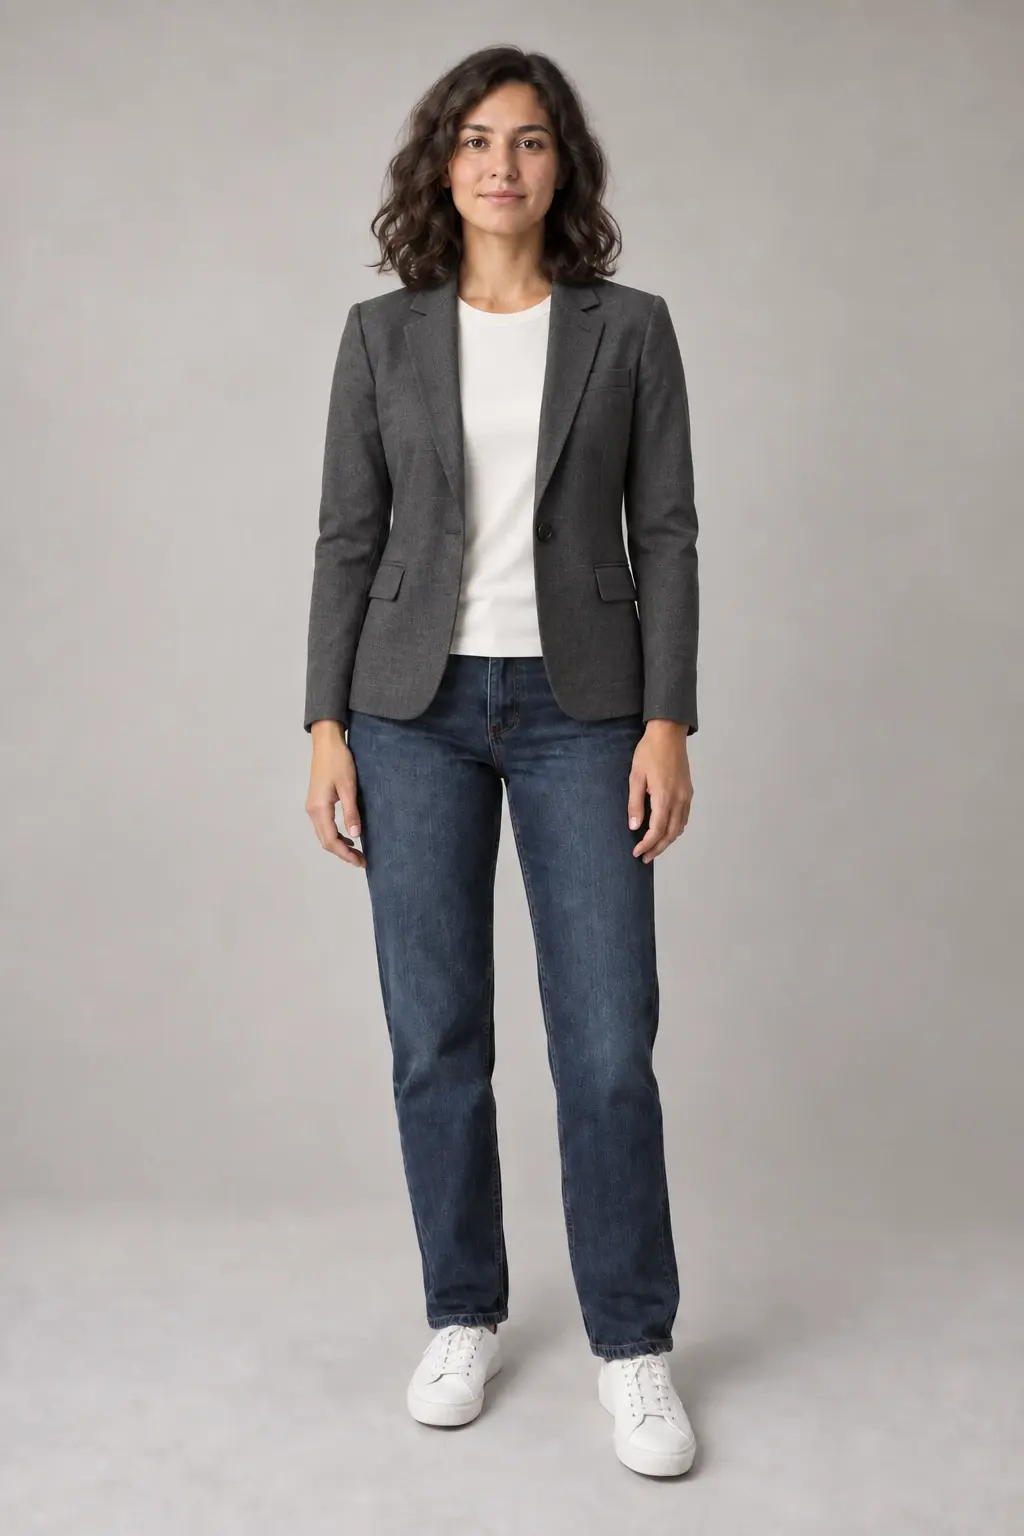
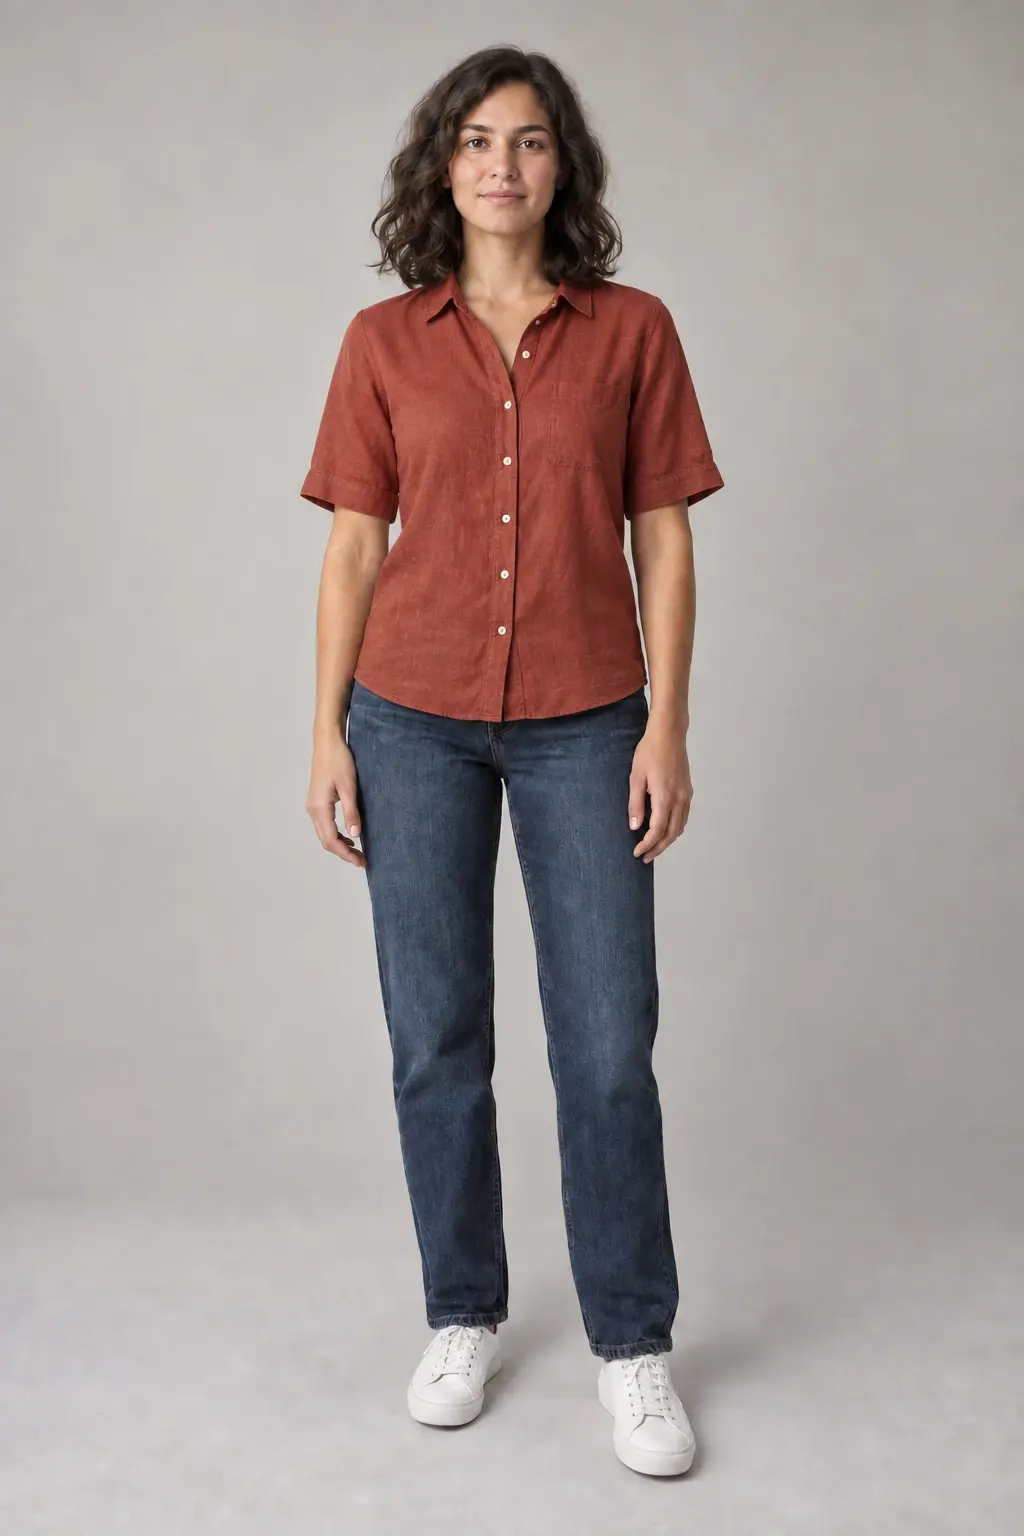
Illustrative images created with Codex ImageGen for this guide on September 10, 2026. They are not outputs from a Pixfy generation or a comparison of Pixfy models. Your result will vary with the photo, prompt, and selected model.
1. Choose a photo that makes the clothing easy to see
Use one photo of a clothed person. A front-facing or gently angled pose with even light gives the editor clearer information about the body, garment boundaries, and shadows.
- Keep the face, hands, and the full area you want to edit inside the frame.
- Prefer a simple background when you need to compare small changes.
- Avoid crossed arms, hair, bags, or other objects covering the garment when possible.
Pixfy accepts one JPG, PNG, or WebP image up to 10MB for each clothes-changing task.
2. Describe the new outfit and what should stay the same
A useful prompt names the garment, color, material, and scope of the edit. Add a short keep list so the request does not leave important details open to interpretation.
A simple prompt formula
Replace [garment] with [new garment, color, material, and cut]. Keep [face, hair, pose, clothing outside the edit, background, and lighting] unchanged.
Example: add a blazer
Replace only the sage-green T-shirt with a tailored charcoal-gray single-breasted blazer over an ivory crew-neck top. Keep the same face, hair, expression, body proportions, pose, hands, dark blue jeans, white sneakers, camera framing, gray studio background, lighting, and shadows unchanged.
Example: change only the shirt
Replace only the sage-green T-shirt with a rust-red lightweight linen button-up shirt with elbow-length sleeves, worn untucked. Keep the jeans, shoes, face, hair, pose, hands, background, framing, lighting, and shadows unchanged.
These are the instructions used to create the illustrative edits above with Codex ImageGen. They are examples to adapt, not records of Pixfy generation tests.
3. Make the outfit edit in Pixfy
Pixfy's current clothes changer uses a person photo plus a text description. It does not have a separate garment-reference upload or a selection brush.
- Open AI Clothes Changer and add the source photo with Upload Photo.
- In Outfit description, describe the new clothing and the details to preserve.
- Choose the available model you want to use and check the displayed credit cost.
- Select Generate Outfit once. Signing in, returning from sign-in, or continuing to Studio does not submit a paid generation automatically.
Text prompting is useful for exploring a style or garment description. It is not the same as transferring an exact product from a second clothing photo, and an edited image cannot verify real-world fit or sizing.
4. Inspect the result before you use it
Compare the edited image with the source at the same size. Check the requested change first, then scan outward for unintended changes.
- Identity: compare the face, hairline, expression, skin tone, and body proportions.
- Edit scope: confirm that trousers, shoes, jewelry, or other clothing stayed unchanged when requested.
- Garment construction: inspect collars, lapels, buttons, hems, sleeve openings, folds, and patterns.
- Hands and overlaps: look closely where fingers, arms, hair, or accessories cross the new garment.
- Scene: compare the crop, background objects, shadows, and direction of light.
If the image changes the right clothing but also alters the face or scene, it is not a clean result. Adjust the source or narrow the request before spending credits on another attempt.
5. Know when the source photo is making the task harder
In this illustrative difficult input, crossed arms, a bag strap, a small floral pattern, and a busy background all compete with the garment boundary. An editor has to reconstruct hidden fabric and preserve several overlapping edges.
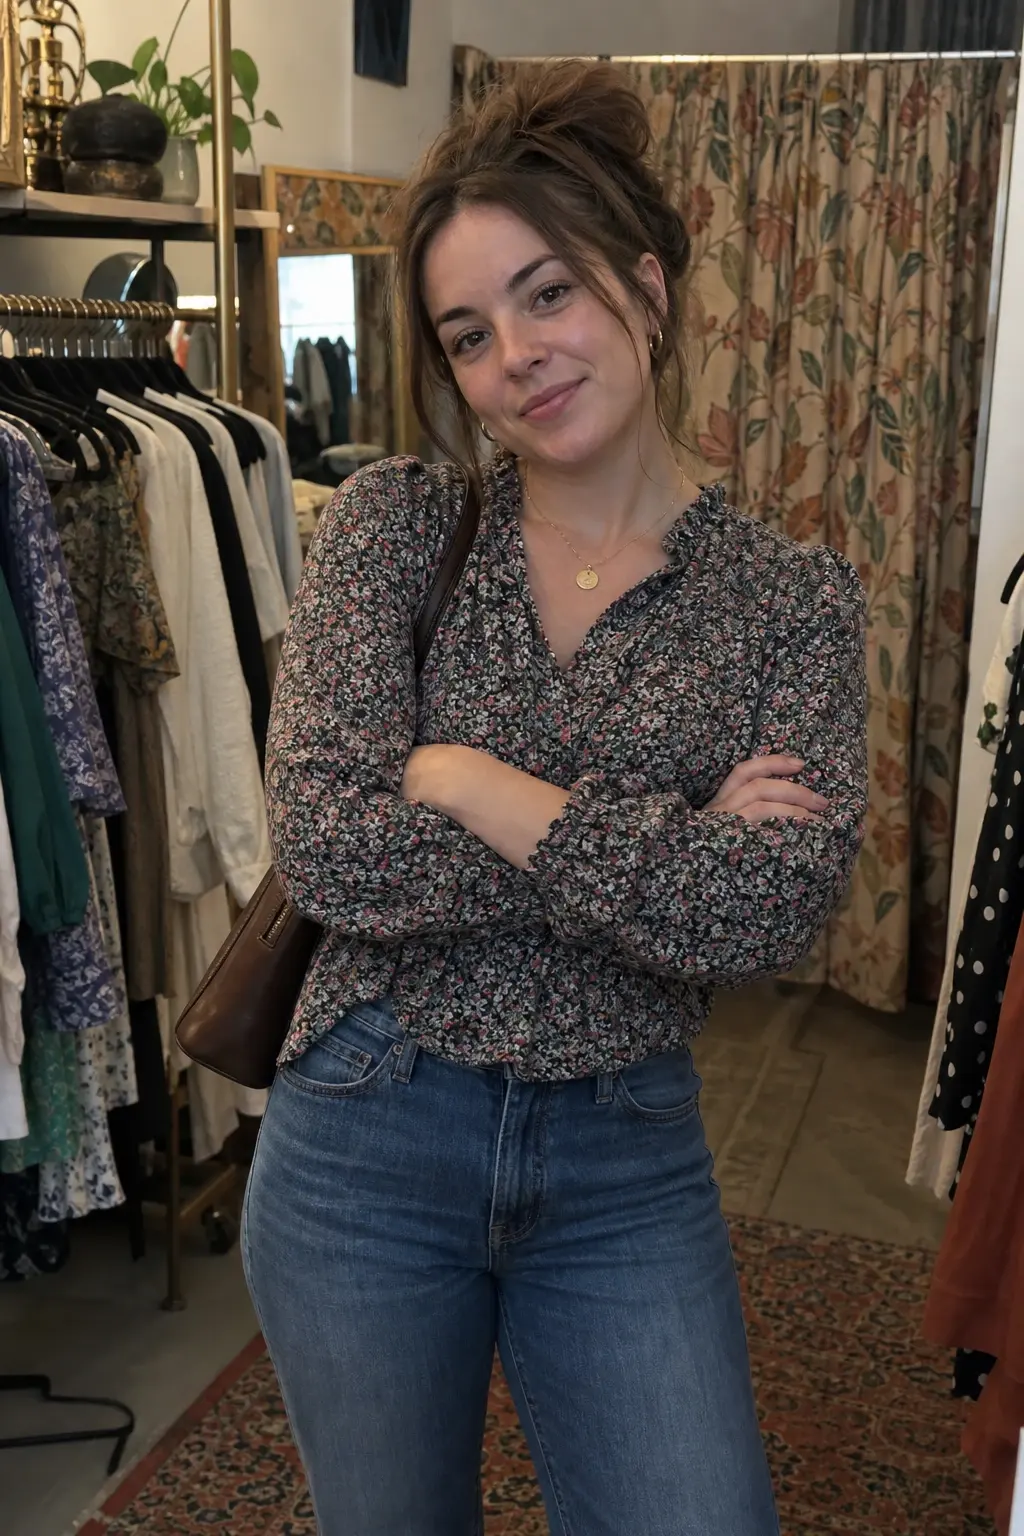
When you can, choose another photo with open arms and a clearly visible garment. If you must use the image, change one item at a time and describe which accessories and background details must remain.
Troubleshooting outfit edits
| What you notice | What to try next |
|---|---|
| The face or hair changed. | Use a clearer photo and add the face, hair, expression, and skin tone to the keep list. |
| The trousers or background changed too. | Say “replace only” the named garment and explicitly preserve the trousers, background, framing, and lighting. |
| Sleeves, hands, or edges look unnatural. | Choose a photo with less overlap around the garment, or request a simpler garment shape. |
| A pattern, logo, or small text is wrong. | Simplify the design. Treat exact logos and fine text as details that may not reproduce reliably. |
| The result still misses the request. | Review the image and prompt before trying again. Every new submission uses the credit cost shown beside the selected model. |
Text description, clothing reference, and masking are different workflows
A text description is for an outfit idea. A clothing-reference workflow uses a second image when a user wants a particular garment. A mask or brush limits an edit to a selected region. Tools may support one or more of these workflows, so check the actual inputs before choosing one.
This guide demonstrates Pixfy's current text-description workflow only. It does not claim exact garment transfer or masked editing.
Try one clear clothing change
Start with a visible garment, change one thing, and use the checklist before deciding whether the result is ready.